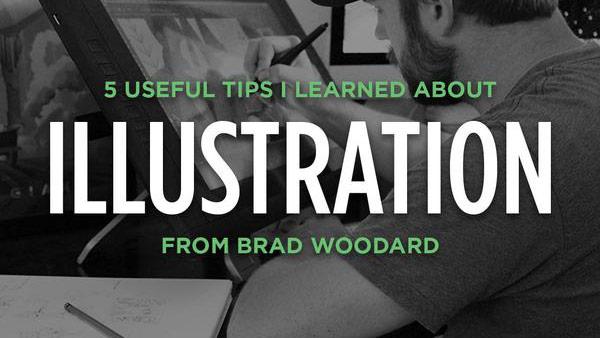
I love spending my days working on RetroSupply. I get to spend my days doing work I love. Working on unique products. Researching the past.
Plus, I get the opportunity to learn from other talented creatives.
Take the Woodland Wonderland Brush & Tutorial Pack. Brad Woodard of Brave the Woods created the illustrations (and some AMAZING tutorials).
Here's a guy who's had his illustrations published in nationally distributed children's books. Plus, he's worked with some dream clients like Target and Harley Davidson.
I had the chance to spend dozens of hours learning his philosophy on illustration. And I picked up lots of good stuff!
Today I want to share some of the best tips I picked up. Special thanks to Brad Woodard for being generous in sharing his knowledge!
1. Create an inspiration board

Have you ever seen an illustration that's trying to evoke a certain style - but looks wrong?
You know what I mean. The technical part is great. But it just looks too perfect.
99% of the time this is a result of an illustrator not understanding the medium their emulating. The result is an illustration that would be impossible to make using real media. As a result it just looks wrong.
Here's how Brad and I did some quick but effective research:
- Create a private Pinterest board.
- Pin 20-30 sample images that achieve the look your after.
- Analyze the images you've collected. Make educated guesses on how the artist created the effect.
Finally, you might want to look for articles on how the illustrators you love actually worked. Oftentimes you can Google interviews and articles that explain their process.
Tip: One of my favorite places to find detailed interviews with illustrators is Grain Edit. Check it out – pretty sure you'll love it.
2. Sketch your ideas on paper (and don't be afraid to be sloppy)

When Brad and I first started working on the pack he showed me some simple sketches.
The sketches were quick and dirty. Each one took 30 seconds to make. But these little thumbnails were like little seeds of creativity.
But the most powerful part about this isn't even getting the idea on paper. It's that it's a low friction step to starting the project. Plus, it gives you the confidence and foresight to push forward.
Here's a simple way to force yourself to make quick sketches:
- Draw three rows of three squares in your notebook.
- Set your iPhone's timer for 30 seconds and click Start.
- Create whatever sketch you can within 30 seconds.
- Do this for each of the 9 boxes.
Within four and a half minutes you'll have nine ideas. Best of all, you'll have destroyed any creative block.
3. Pretend you're working with real media

Photoshop gives you all kinds of tools to speed up your process.
For example, using the Quick Selection Tool is an easy way to fill an area with color in a matter of seconds. It can be tempting to always work this way because of the huge time savings.
But if you want to achieve a natural media effect in your work sometimes it's best to take the longer route.
In many of the tutorials Brad fills in his sketch with our form builder brushes. Could he just use the Quick Selection Tool and then Edit > Fill? Sure, but the result would end up being a little too perfect.
Using the form builder takes more time. But it also creates organic natural edges. And those small touches go a long way in creating the magic of real media.
4. Mix your colors Bob Ross style

Remember Bob Ross?
One of my favorite things about watching that dude was the relaxed way he would mix colors. He would grab a little bit of Sap Green, mix it with a little Titanium White. Then paint a little tree. Then he would add a little more Titanium White and create some highlights.
Mixing colors that way gives you tons of tonal variation.
Get subtle variations in your palette by making slight tweaks to your color palette as you work.
For example, Brad always keeps the CMYK color window nearby. He's plays with shades and values by making small adjustments to the sliders.
It's not quite as fun as mixing colors like Bob Ross. But it will achieve the same natural color shifts that you see in real media illustration work.
5. Fiddling is good

I was talking to a good friend that's an illustrator the other day. He was testing out the Woodland Wonderland Brush Pack (we have professional illustrators test all our brushes before we release them). At one point he said that Brad must work much quicker (and with less fiddling).
But that couldn't be further from the truth! Brad fiddles with his illustration as he works too. And he has a blast doing it!
If you own the Woodland Wonderland Pack you'll get access to a new video tomorrow. In the video Brad shares 5-6 different ways you can experiment in your work.
Here's a few ways you can experiment in your work:
- Replace one of your palette colors with something unconventional
- Use a brush in a way it wasn't intended. For example, try making a form building brush smaller and using it like a pen.
A big part of making great work lies in the surprises that happen while you're experimenting. Don't worry about spending 10 minutes playing around with your colors, textures or brushes. That might be where you find the things that give your work it's signature style.
Want more tips, videos, and professional-grade Photoshop brushes?
If you'd like to get access to 5 tutorial videos packed with super-specific illustration tips check out the Woodland Wonderland Brush & Tutorial Pack. It's heaped with useful tutorials from best-selling teacher and illustrator Brad Woodard. Plus, you get 31 Golden Book era inspired Photoshop brushes to follow along.


