You’ve seen our products. You know we have the tools you need to inject some mid-century magic into your work, no matter what vintage effect you’d like to recreate.
But what else can you do with RetroSupply products? Can you use them to boost your productivity, or kick-start your creativity? Can they teach you new skills or save you money?
The short answer is: yes. They can do all of that and more. Here are 10 ways to use RetroSupply products to get even more out of them than what they say on the tin…
01. Present your work in different styles
You’ve designed a vintage logo and it looks good. But could it look even better with a different texture or print effect?
It’s easy to try different styles with RetroSupply products. Firstly, each tool is fully customizable, so you can experiment with different looks at the touch of a button.
Secondly, we have a huge catalog of layer styles, graphic styles, overlays, textures and actions that you can apply with just one click, letting you can scroll through a huge range of retro and vintage styles in seconds.
That means you can quickly present clients with different options for a design, without spending hours crafting each one. (It’s a great way to deal with the classic ‘Can you make it pop?’ question too.)
02. Save time and money on smaller-budget clients

It’s a fact: lots of clients don’t have big budgets. If you’re working on a smaller job and can’t afford to spend time creating custom lettering, new brushes, or a specific mid-century effect manually, you can use our products to achieve exactly the retro and vintage look you need, in a fraction of the time.
After all, we’ve spent years researching mid-century print techniques, analyzing the work of the great commercial artists of the past, and fine-tuning our design tools to make sure they behave in the same way – which means you don’t have to.
So if you’re up against the clock or working to a tight budget, just grab the font, action or brush set you need. Your client gets a great design; you keep costs down or buy yourself some time. It’s win-win.
03. As a catalyst for new ideas and creative approaches
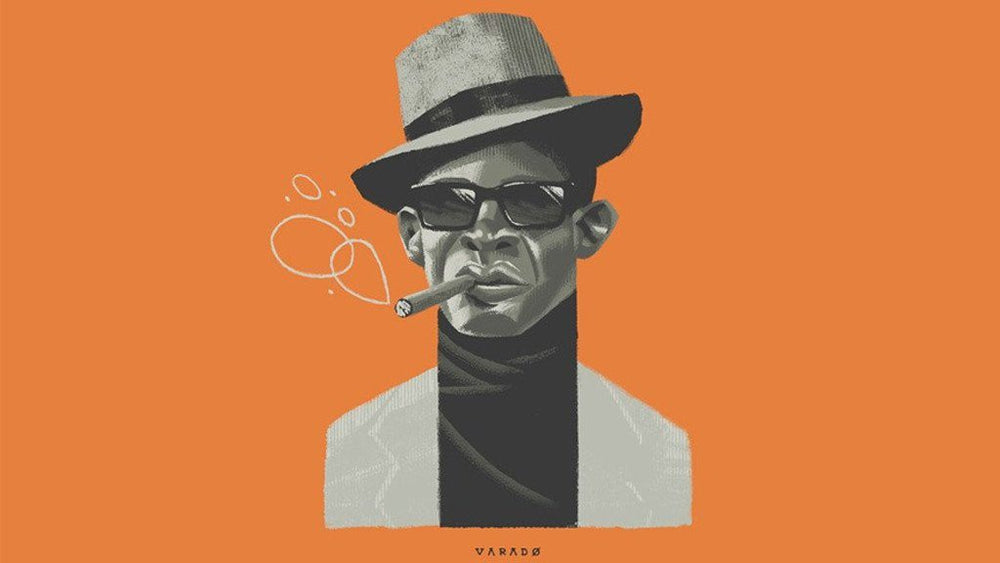
 Brett Stenson: Lightnin' Hopkins. “I layer different brushes together to give more depth and texture," he says
Jump-start your creativity by just picking a product and experimenting. If the mid-century goodness doesn’t inspire you, then the customization options will.
Lettering designer and illustrator Brett Stenson experimented with the Space Ranger brush pack by Brad Woodard of Brave the Woods, and has completely changed his workflow. He’s now able to create most of his work digitally – without having to scan in analog work – after being blown away by the tactility of the brushes.
“It cuts your work process tremendously,” he says, adding that he now has more time to play with new ideas. One recent experiment saw him using the SpaceRanger brushes to create a portrait of blues singer-songwriter Lightnin' Hopkins. “The piece used a mixture of chalky vibes with a scanned-in corrugated cardboard sheet to give the highlights more character,” he explains.
“I then used a more crayon-and-conte vibe to fuzz out the drawing in sections, making it feel less and less digital. It was an experiment in how to push texturing from simply airbrushes and grit to a more realistic, experimental level.”
04. Learn how to create mid century effects yourself

Handmade brushes, textures, actions and so on can save you hours of time – but what if you want to learn how to do create these effects yourself? Well, you can.
Take the Mid Century Print Pack Mega Bundle. As well as providing a plethora of retro actions, brushes, and textures for creating authentic mid-century effects in Photoshop, the pack also comes with 10 video tutorials that teach you how to produce these effects yourself.
Same with the Lettering Library Mega Bundle – 117 rare, vintage books on hand lettering. Or our PopType graphic styles pack, which comes with a tutorial vault to teach you how to build your own graphic styles. So grab a product and start learning...
05. Simulate how a design would look printed or aged over time

One great use for our products is to simulate how your work might look if it were printed, or had aged over time. Just add a vintage texture or overlay to instantly age your designs, for example.
And when it comes to trying different print techniques, you can take your pick. The Analog Ink Foundry, for example, gives you instant block print effects without having to invest in equipment or supplies. Matchbook Print Machine is a smart PSD that gives you retro matchbook print effects – complete with registration errors – with just a few clicks.
Or try something like the Mid Century Print Pack, which includes a number of actions for creating different retro print styles (simulating different types of printing, paper and effects like ink soak and so on). Whatever print technique you want to replicate, we’ve got you covered.
06. Mix and match techniques from different products

Image: Alex Dukal applied an AD Impastoshop technique to the RetroSupply Stippling brushes to create a new effect
Another way to boost your creativity – and produce unique results – is to try applying techniques from other products to RetroSupply tools. That’s how Argentina-based illustrator Alex Dukal produced this thick-paint-style image: he used the AD Stippling Brushes to replicate a technique normally used with his AD Impastoshop brushes.
“The idea is simple,” he says. “Paint with some Stippling brushes on a layer that has a bit of Bevel & Emboss to obtain a result like thick painting. In this case, I’m using colored dots so the results could resemble some kind of pointillism, which is a branch of impressionism.”
“The secret is not just to add the Layer Style (Bevel & Emboss) – but also to make sure you don’t cover all the layer with dots. In this example, each color has around four to six separated layers.
07. Extract the source vector art
 Image: Von Glitschka
Here’s a tip for using RetroSupply products from creative director and vector artist Von Glitschka, who’s created a number of best-selling vector brush packs. “A lot of people don’t know this,” he says, “but on any vector brush, just select it and drag the brush out of the Brushes palette to your Illustrator artboard, and that will give you access to the source vector art the brush is made from.”
“Sometimes I do this with the Retro brushes I made. If I only need one iteration, this allows me to use a simple vector shape and not the actual brush application to a path and so on.”
08. Set yourself a mock brief using a pack's restrictions
Restrictions might seem like the last thing you’d choose for a creative project, but if you’ve ever been paralyzed by an open brief, you’ll know that constraints actually encourage creativity. Everyone from designer Jessica Walsh to ex-Google first lady Marissa Mayer to The White Stripe’s Jack White has spoken out on the value of boundaries in creative work.
So why not set yourself the challenge of creating a new project around the restrictions of one of our packs? Could you create a poster using only retro clip art? What if you reinvented the world’s most iconic logos using vintage fonts or The Garage Grime vector brush pack?
09. Use the packs as an excuse to finally launch a side project

Image: A still from recent Vallée Duhamel side project, A Very Short Film
Our job is to facilitate and inspire. So if you’ve bought one of our products and you’re feeling creativity charged, why not invest that drive (and time you’ve saved) into a side project?
Use our products as a starting point to launch your next idea. They’ll help you achieve the effects you want, faster, and could inspire you into new areas of creativity. There’s no excuse…
Also read:How to Make Time for Side Projects
10. Extract textures for abstract screenprinting

“I own pretty much every RetroSupply product – no joke. They’re incredible time-savers and top-notch authentic assets,” says Lenny Terenzi, aka Hey Monkey Design.
He runs screenprinting workshops and team-building events, and uses RetroSupply textures to ensure he has a library of high-quality “and just plain cool” art that attendees can collage into fantastic looking designs for print.
“I poke through all the packs I have, and extract textures and art to their own files,” he explains. “I then color the art 100% black across all CMYK channels, to print the darkest films possible for screenprinting. Then I print them to my modified Epson 1100 printer, loaded with all black ink and print transparency films for each asset.”
Work-shoppers can pick as many assets as they want to create a collage of layered art across multiple colors. “They make a unique piece of art that they can then screenprint themselves,” adds Lenny. “Having these materials at the ready saves time – which saves me money.”