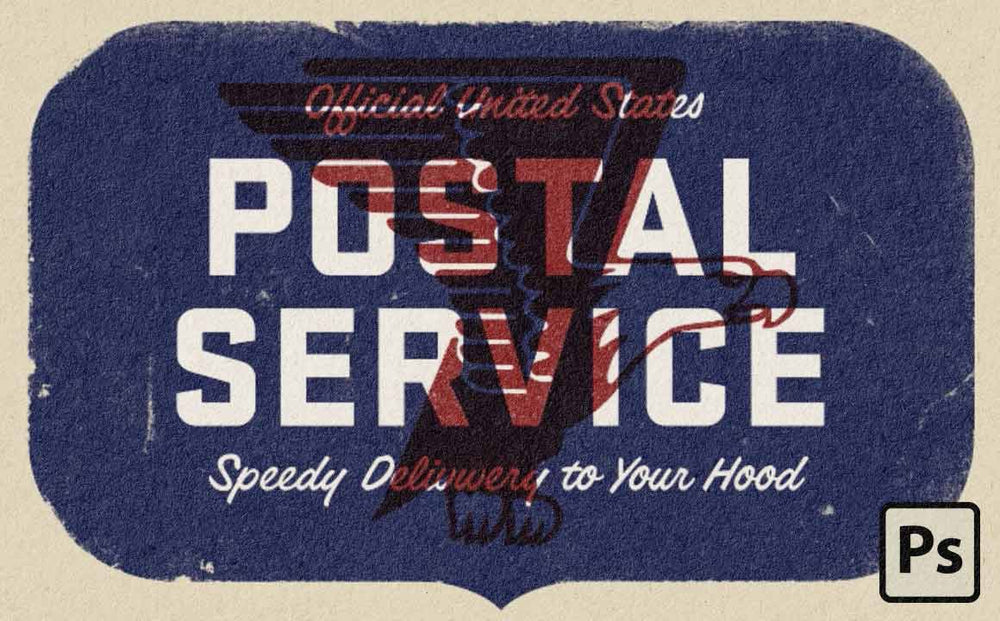
You've probably noticed that in real life print work is imperfect. Everything from that tag on your new jeans to the Grayhound bus ticket you saved from that summer trip.
Nothing remains perfect.
In this tutorial I'll show you how to roughen the edges of your work in Photoshop.
I'll be using the RetroSupply Edge & Fold Distressor Pack.
Click here to get the Edge & Fold Distressor Pack FREE!
Just like quality leather gets more beautiful with age – some printed work becomes more beautiful as time passes.
This is the result of things like (about to get nerdy here):
- Yellowing as the result of oxidation of cellulose content in paper
- Ink smear and distress as a result of humidity on carbon based inks
- How much bending paper can take before breaking (folding endurance)
Each of these elements can result in great looking work. Unfortunately, most of us don't have the time to sit around and get these results naturally. So I've created a simple tutorial that will help you achieve the effect.
Plus, as a special bonus I've included a 12 brush pack you can download for FREE. It's called The Edge & Fold Distressor Brush Pack and I think you'll like it!

